
Introduction
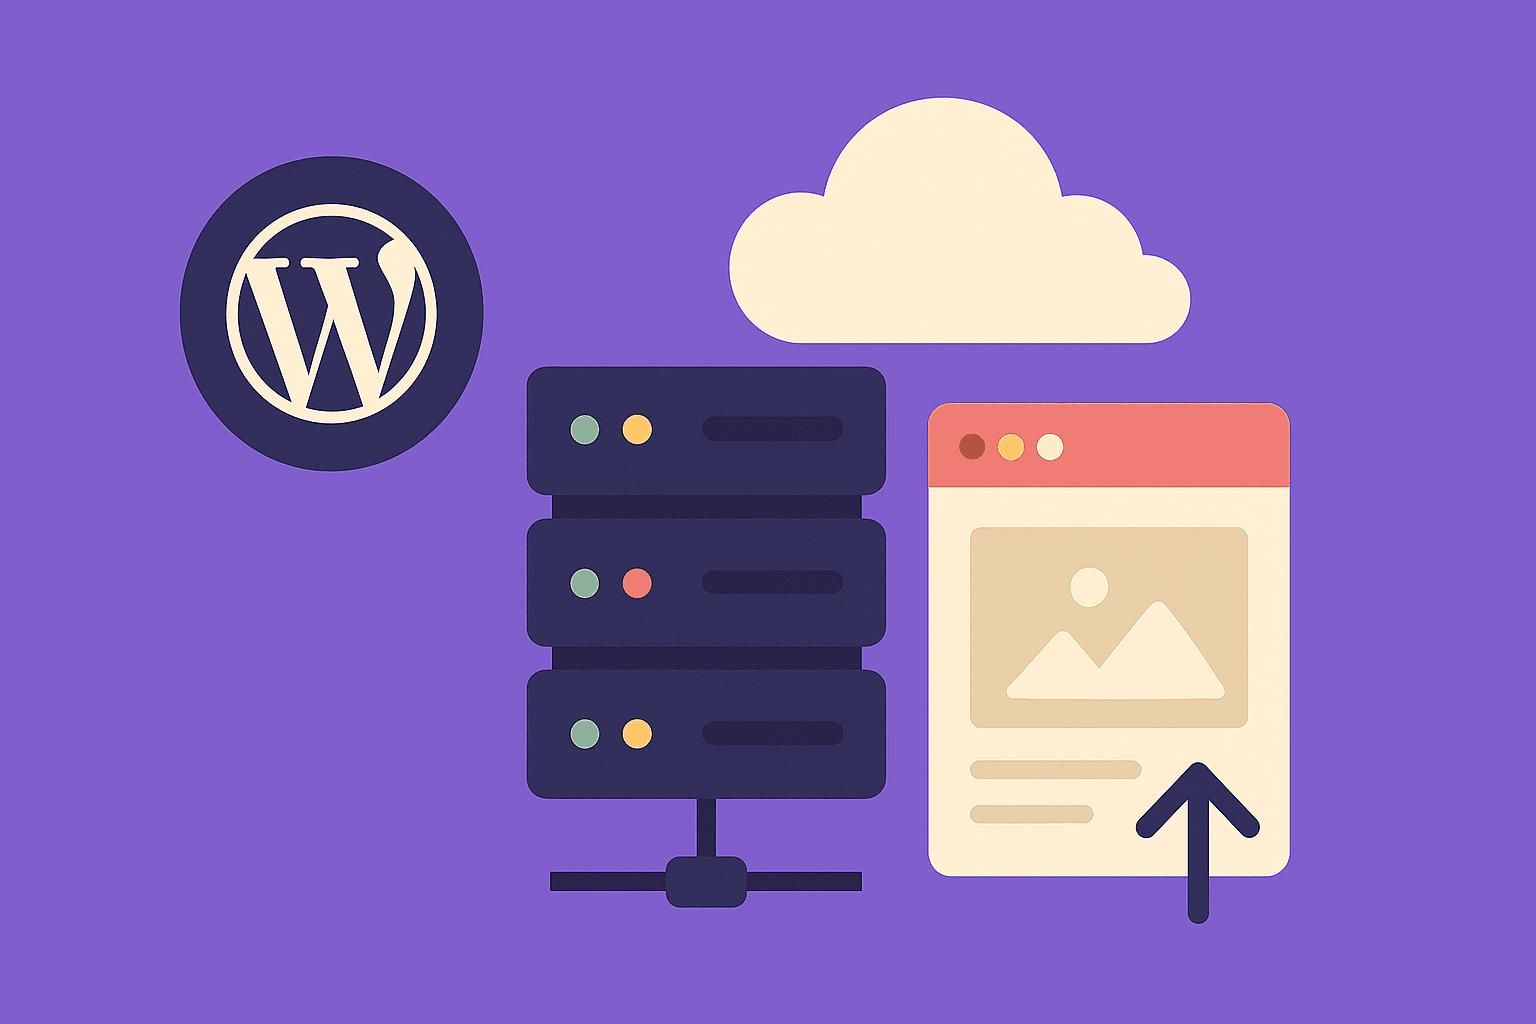
Shared hosting is great for beginners, but as your site grows, you need more control. That’s where Virtual Private Server (VPS) hosting comes in. VPS gives you dedicated resources and root access, ideal for growing WordPress sites.
Step 1: Choose a VPS Provider
Popular options include DigitalOcean, Linode, Vultr, AWS Lightsail, and Cloudways. Choose based on location, pricing, and included features.
Step 2: Deploy the Server
- Choose your operating system (Ubuntu, Debian, AlmaLinux).
- Select server size (1–2 GB RAM is minimum for WordPress).
- Note your server’s IP, root username, and password/SSH key.
Step 3: Install a Web Server Stack
Common options:
- LAMP (Linux, Apache, MySQL, PHP)
- LEMP (Linux, Nginx, MySQL/MariaDB, PHP-FPM)
Example for Ubuntu:
sudo apt update && sudo apt upgrade
sudo apt install nginx mysql-server php-fpm
Step 4: Configure Database
Create a database and user:
CREATE DATABASE wp_site;
CREATE USER 'wp_user'@'localhost' IDENTIFIED BY 'password';
GRANT ALL PRIVILEGES ON wp_site.* TO 'wp_user'@'localhost';
FLUSH PRIVILEGES;
Step 5: Install WordPress
- Download WordPress:
wget https://wordpress.org/latest.tar.gz
tar -xvzf latest.tar.gz
mv wordpress /var/www/html/- Configure
wp-config.phpwith your database details.
- Set correct permissions:
chown -R www-data:www-data /var/www/html/wordpressStep 6: Secure Your VPS
- Enable UFW firewall (allow only ports 80, 443, 22).
- Install SSL with Let’s Encrypt.
- Regularly update OS and WordPress.
Final Thoughts
VPS hosting gives you power and flexibility but requires server management knowledge. If you’re comfortable with Linux commands, a VPS is the best middle ground between shared and dedicated hosting.


")


")


")