
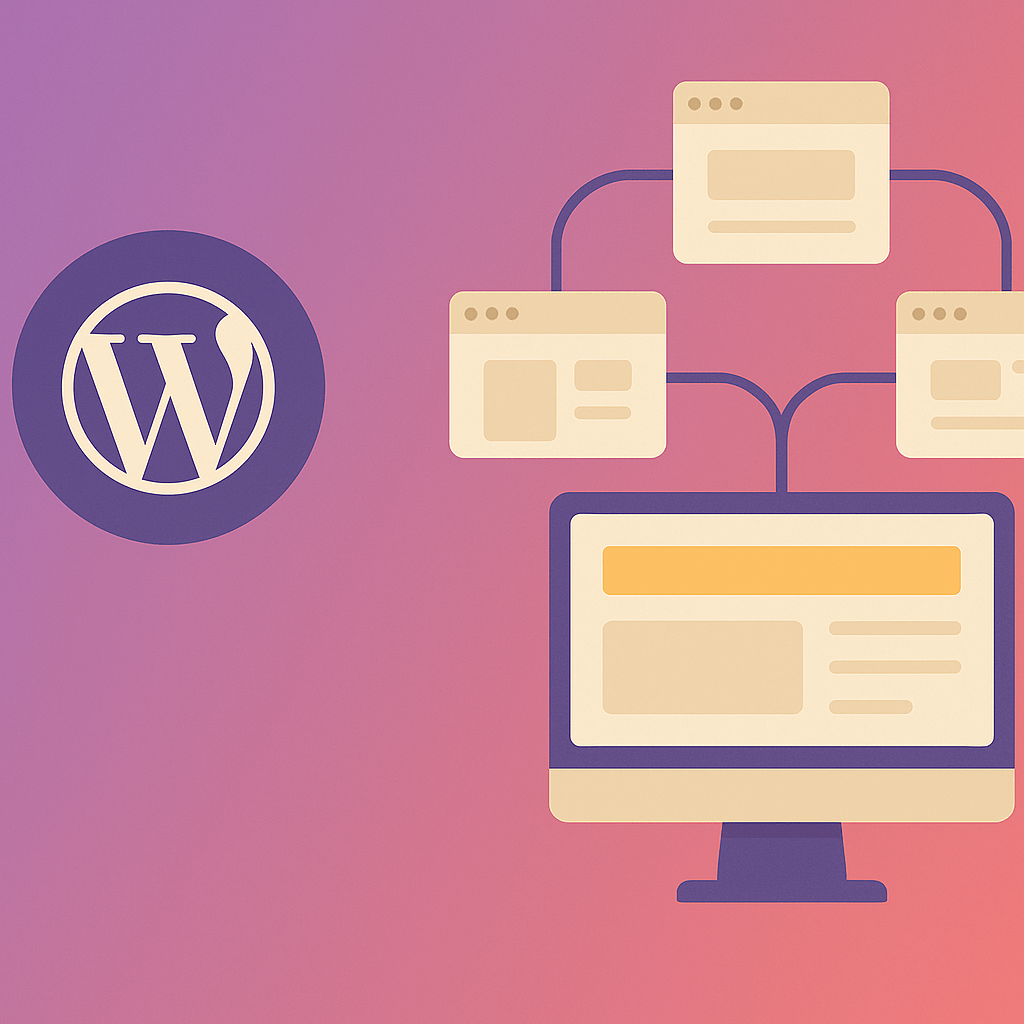
What Is WordPress Multisite?
WordPress Multisite is a built-in feature that lets you manage multiple websites from one WordPress installation. Instead of setting up separate WordPress installs for each site, you can create a network of sites that share the same core files, plugins, and themes.
This is perfect for:
- Universities or schools with multiple departments
- Businesses running sub-brands under one parent domain
- Agencies managing client sites in one place
- Bloggers running different niche sites
Subdomains vs. Subdirectories
When enabling Multisite, you’ll be asked to choose between:
- Subdomains:
site1.example.com,site2.example.com - Subdirectories:
example.com/site1,example.com/site2
👉 If your site is brand new, you can choose either.
👉 If your site is already established, subdomains may be easier.
Step 1: Enable Multisite
Edit your wp-config.php file and add this line above “That’s all, stop editing!”:
define('WP_ALLOW_MULTISITE', true);
Now, go to Tools > Network Setup in your WordPress dashboard.
Step 2: Configure the Network
Here, WordPress will ask if you want subdomains or subdirectories. Make your choice, then click install.
WordPress will give you two sets of code to paste:
- One into
wp-config.php - One into
.htaccess(Apache) ornginx.conf(Nginx)
Example wp-config.php snippet:
define('MULTISITE', true);
define('SUBDOMAIN_INSTALL', false); // true for subdomains
define('DOMAIN_CURRENT_SITE', 'example.com');
define('PATH_CURRENT_SITE', '/');
define('SITE_ID_CURRENT_SITE', 1);
define('BLOG_ID_CURRENT_SITE', 1);
Step 3: Adjust Server Rules
For Apache, update .htaccess with WordPress Multisite rules.
For Nginx, add try_files rules and (if subdomains) configure a wildcard DNS entry (*.example.com).
Without these, your subsites may not load properly.
Step 4: Add Sites and Users
Once Multisite is enabled:
- Go to My Sites > Network Admin > Sites > Add New
- Fill in the site title and URL
- Assign an admin user
Each subsite can have its own dashboard, users, and content—but all share the same plugins and themes.
Step 5: Domain Mapping (Optional)
If you want subsites to use custom domains (e.g., store.com instead of example.com/store):
- Add the domain under Site Address (URL) when editing the site in Network Admin.
- Point the domain DNS to your server.
- Install an SSL certificate for each domain.
Best Practices for Multisite Management
- Keep plugins lightweight since they’re shared across all sites.
- Use staging environments for major updates.
- Set up automated backups (both files + database).
- Use role-based permissions carefully to prevent accidental changes.
Final Thoughts
WordPress Multisite is a powerful feature that can save time and centralize management if you run multiple websites. While setup requires a few technical steps, the long-term benefits—centralized updates, plugin sharing, and easier scaling—make it worth the effort.
💡 Pro Tip: Multisite is great for networks with related sites. If each site has very different needs, consider separate installations for better isolation.


")


")